Understanding Embeded Programming
To keep it short and simple, there are different components that make up your circuit board.
First you have your microprocesser(MPU)/microcontroller(MCU) these things act as the 'brain' of the board, it is able to store memory as well as the intended program. Some of them include ATTiny25/45/85.
Secondly, there are pherpherals which are the other accessories which are customisable according to the specific needs of that board. Some peripherals include USB, timer and ports. There are many different peripherals.
Programming the Programmer
Pretty ironic right, to have a programmer you need to programme the programmer, [BTW inner thoughts, which programme/program is the right program/programme?]
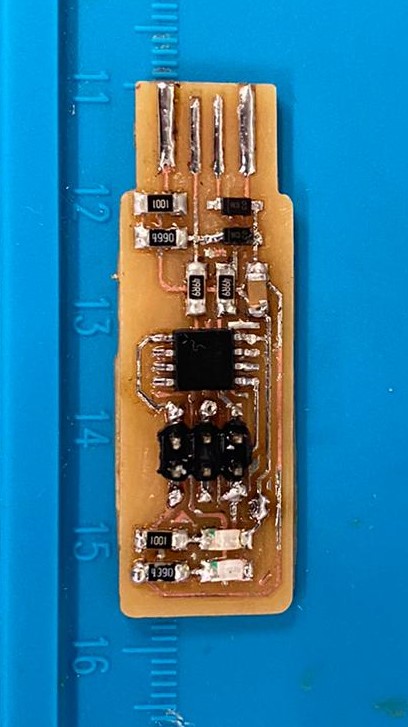
Anyways, going back to electronics production page, we made our FabTinyISP. That is the programmer that we will be programming.
Before Starting
VERY IMPORTANT install the following softwares before contiueing, ensure that you know where the location of these files are first before starting!!!
Once all of them are installed/downloaded. To me I think it is ok to keep it in which ever file you like in your computer as long as you know how and where to locate it.
I followed Mr Noels website closely as well as had alot of help from Mr Chew to successfully program my ISP. Noel Kristian
I also referred alot from Brian's Page for the programming of the ISP Brians page
Take Note
Open the makefile in the firmware files, ensure that you change the MCU to ATTiny85 instead of 45 for the ISP as the MCU that we are using is ATTiny85.
DUN DUN DUNN the Programming part itself
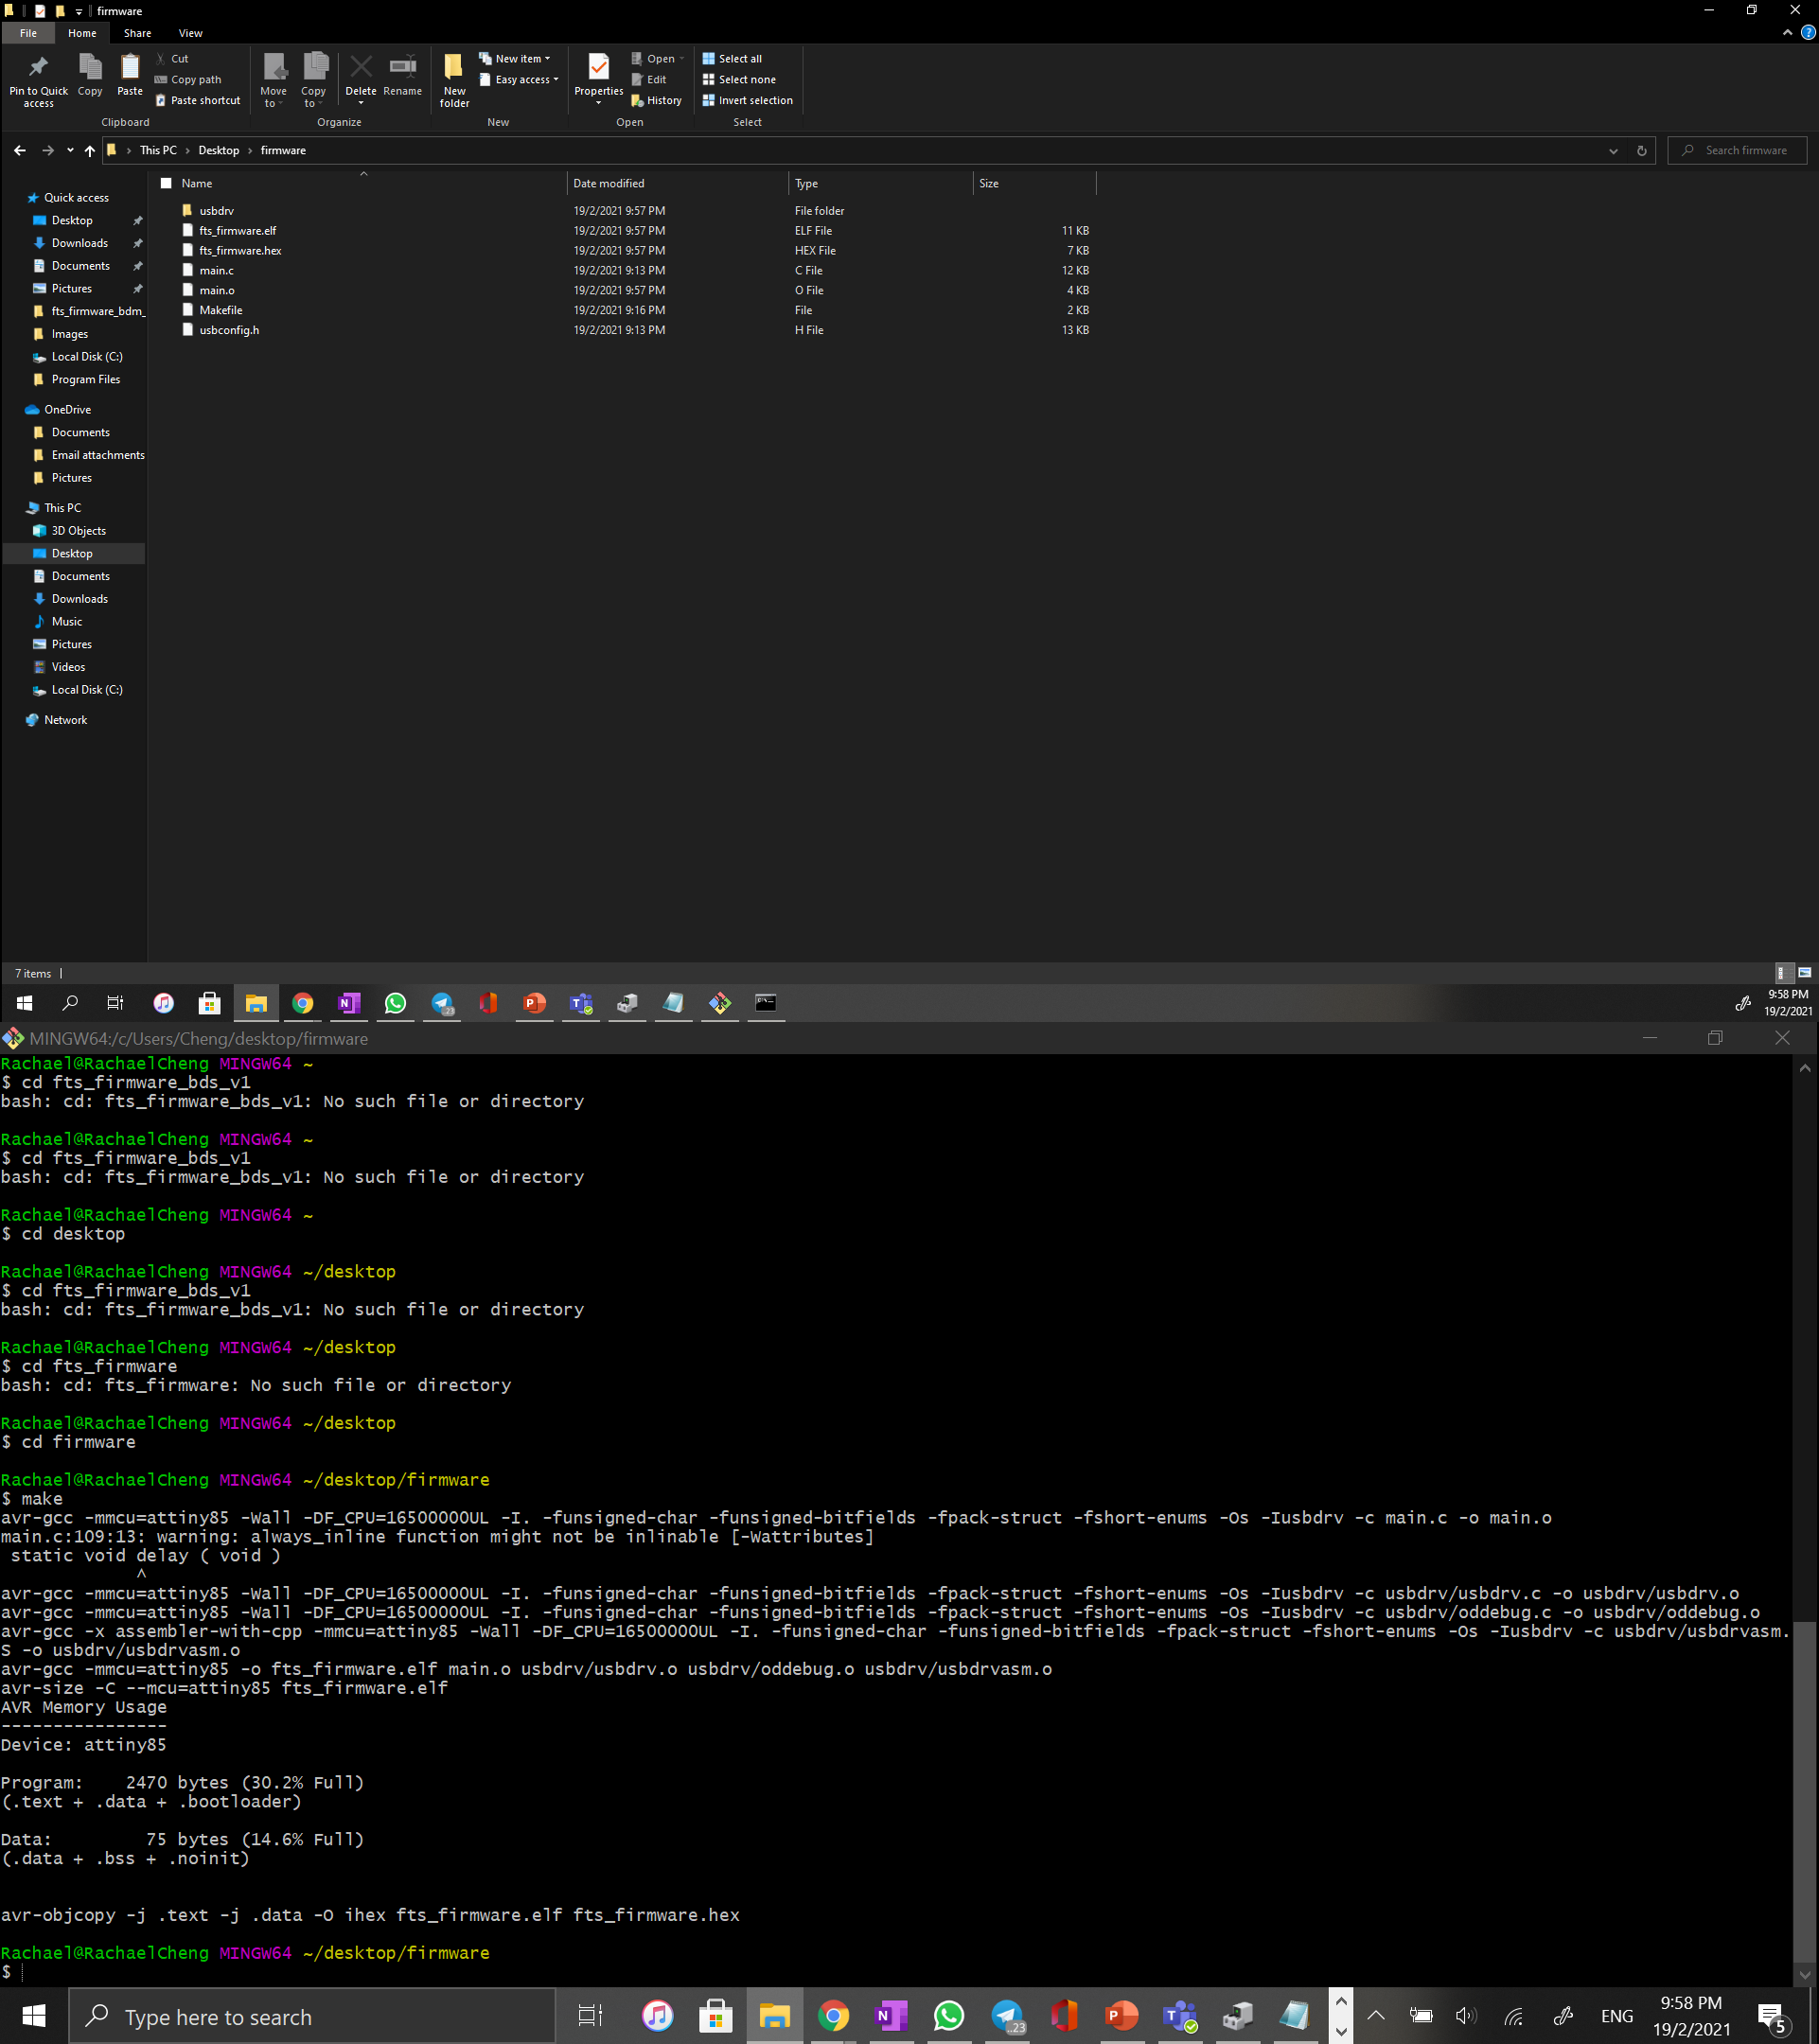
Run Commant Prompt and change the directory to the file which contains youre firmware.(hint hint, if you use windows you can right click the top search car and copy the link)
To change directory, type 'cd (file location)'
Once it is in type 'make' This will make a hex file and a elf file in the firmware folder. Double check to make sure that it is there in your files
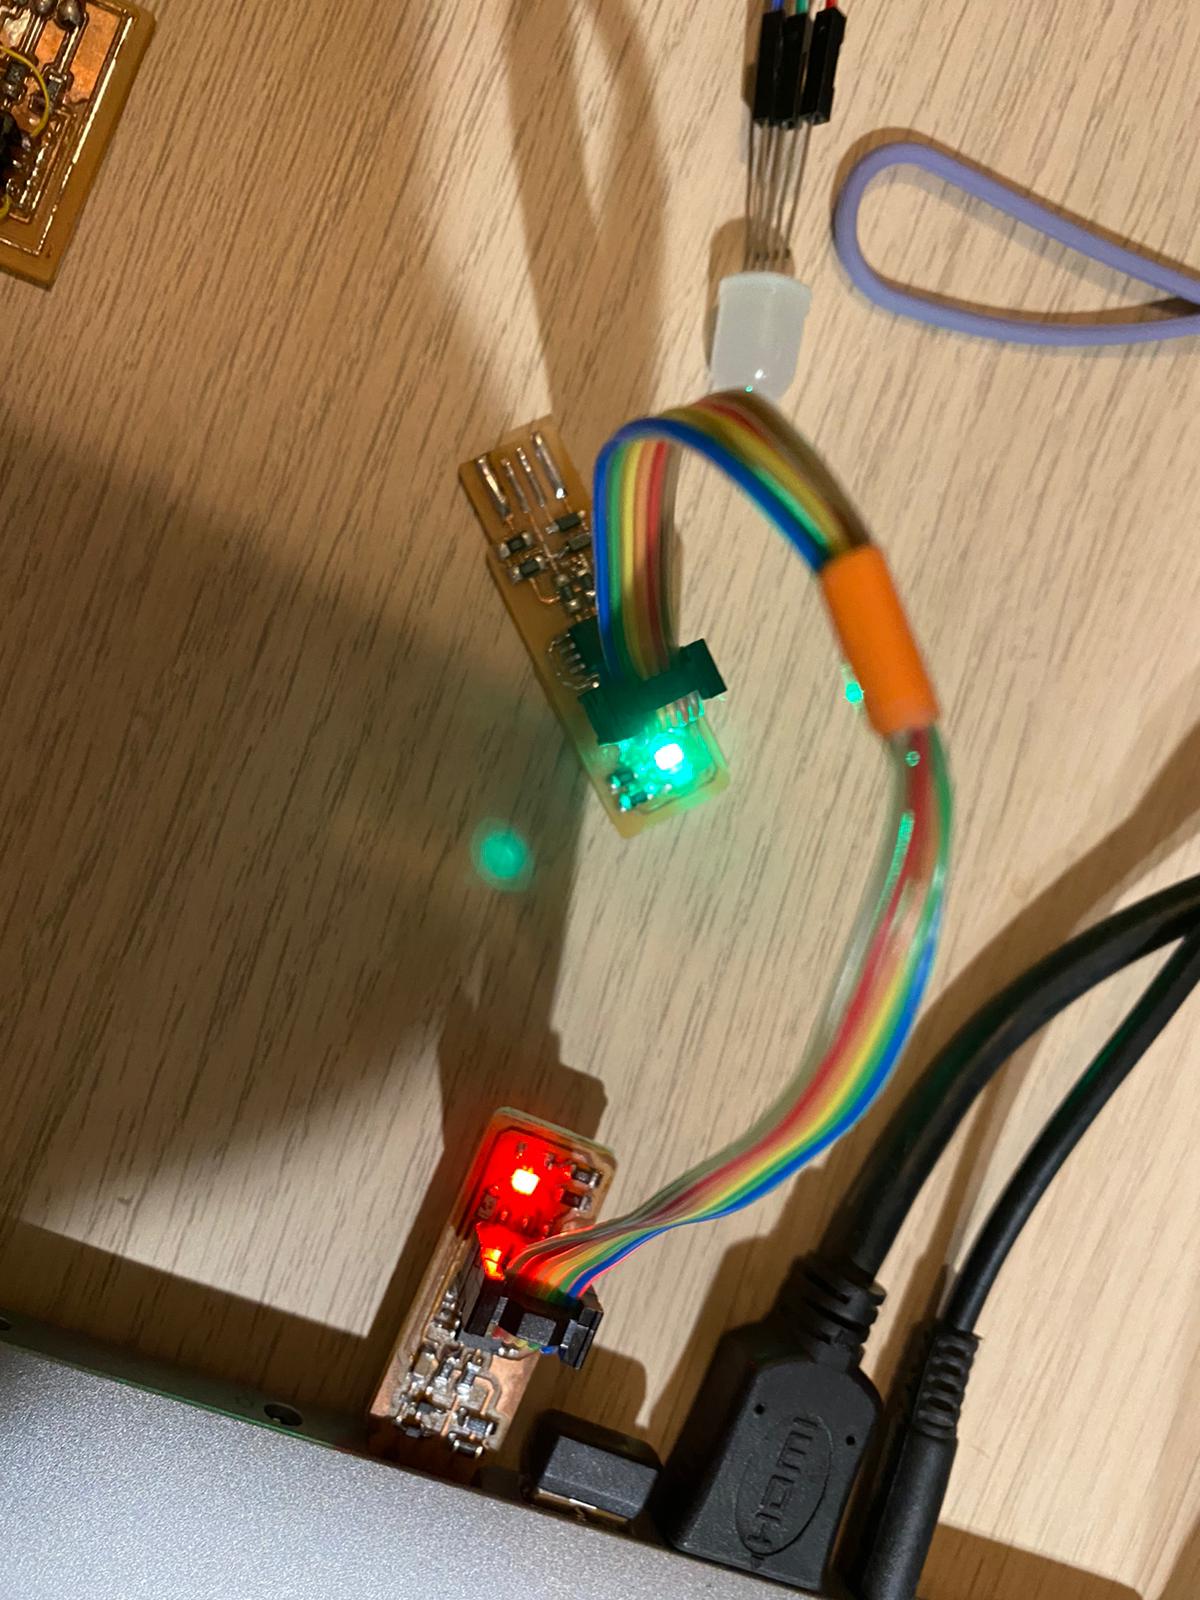
Now the board is ready to be programmed, ensure that there is a working programmer (I used Mr Chew's) that is connected to your own programmer. Also ensure that the working programmer is detected by the computer. This can be seen in device manager. Once that is done, open up "Command Prompt" we will use that environment for programming the ISP.
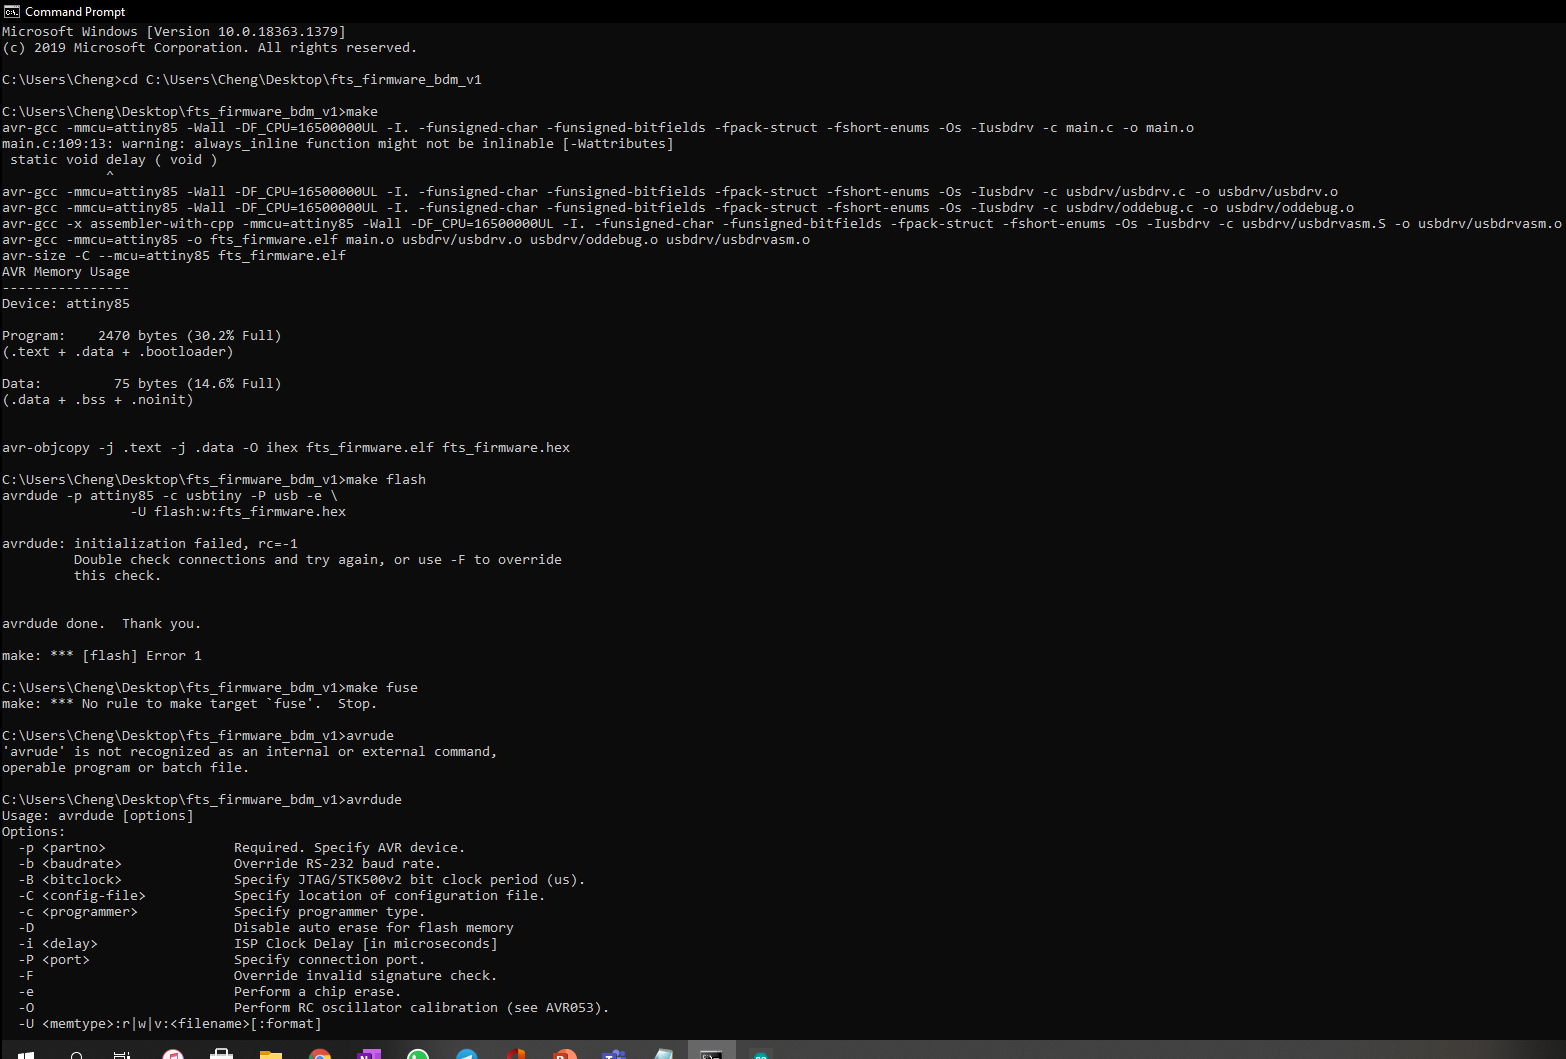
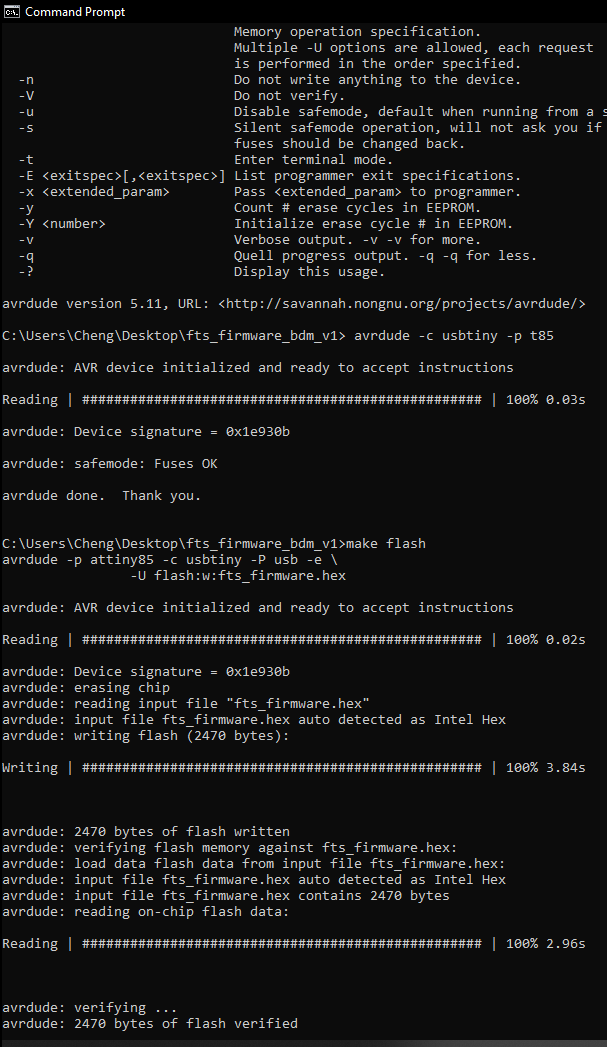
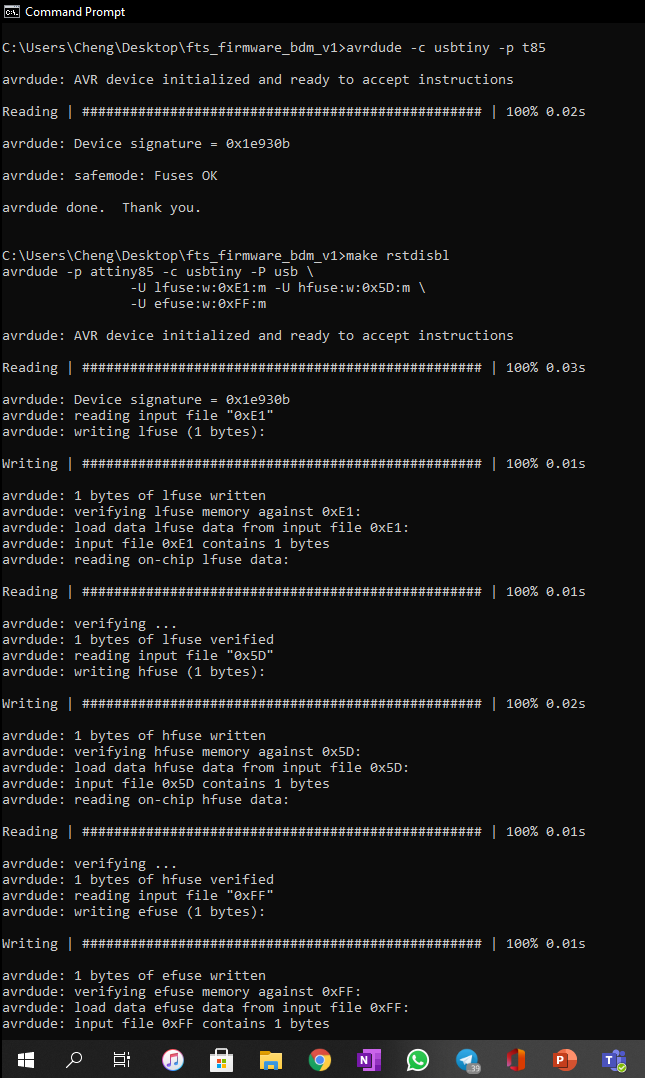
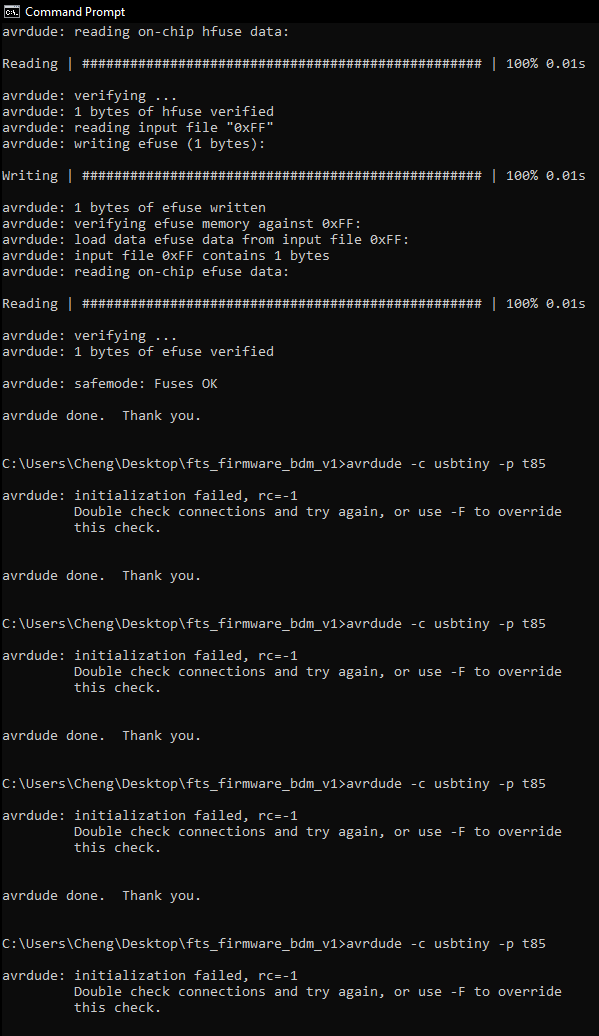
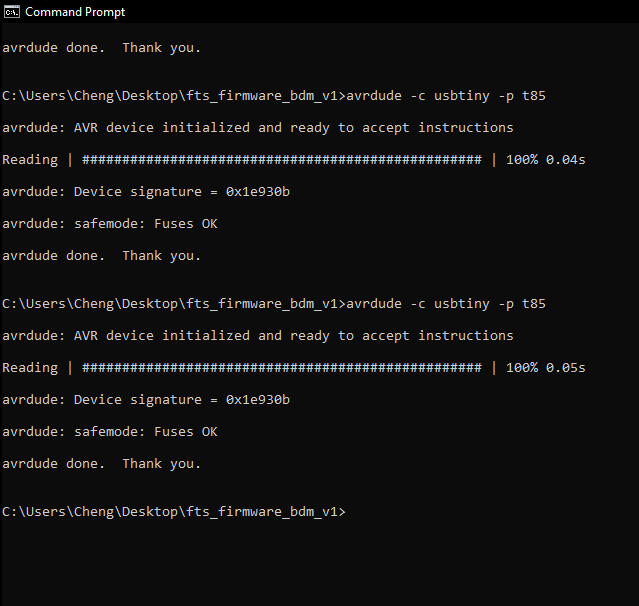
Type in 'make flash' this erases your own programmer board and uploads the machine code (.hex) into your programming board. Once that is done you can type in 'avrdude -c usbtiny -p t85' to check to see if the board is working.
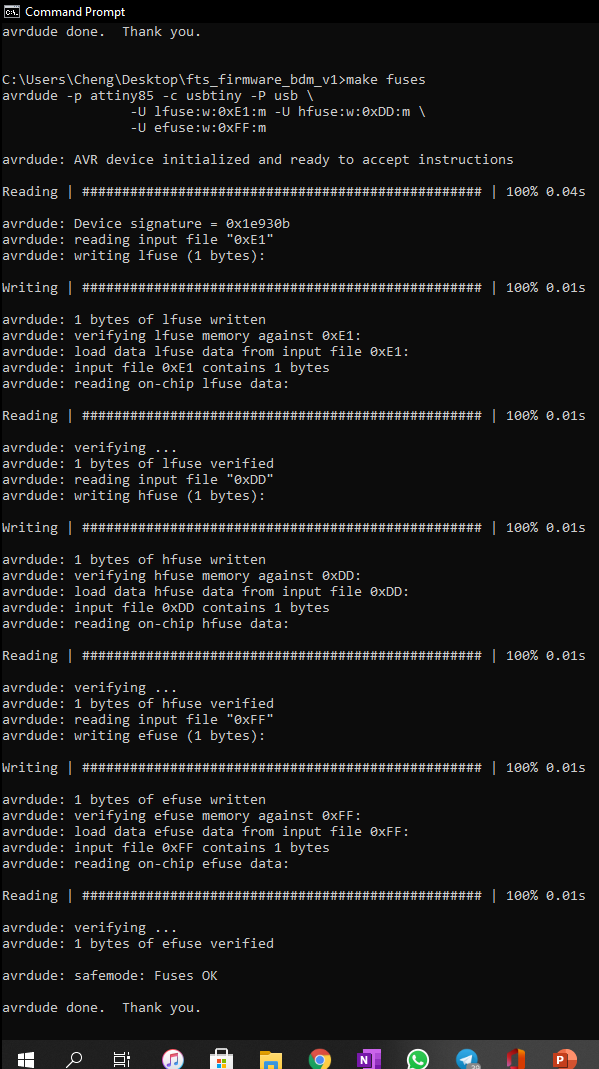
After that, type in the command 'make fuse' This will configure the fuses your own board according to the machine code. Check that it says 'Thank you' at the end of the long list of words to ensure that the code has passsed.
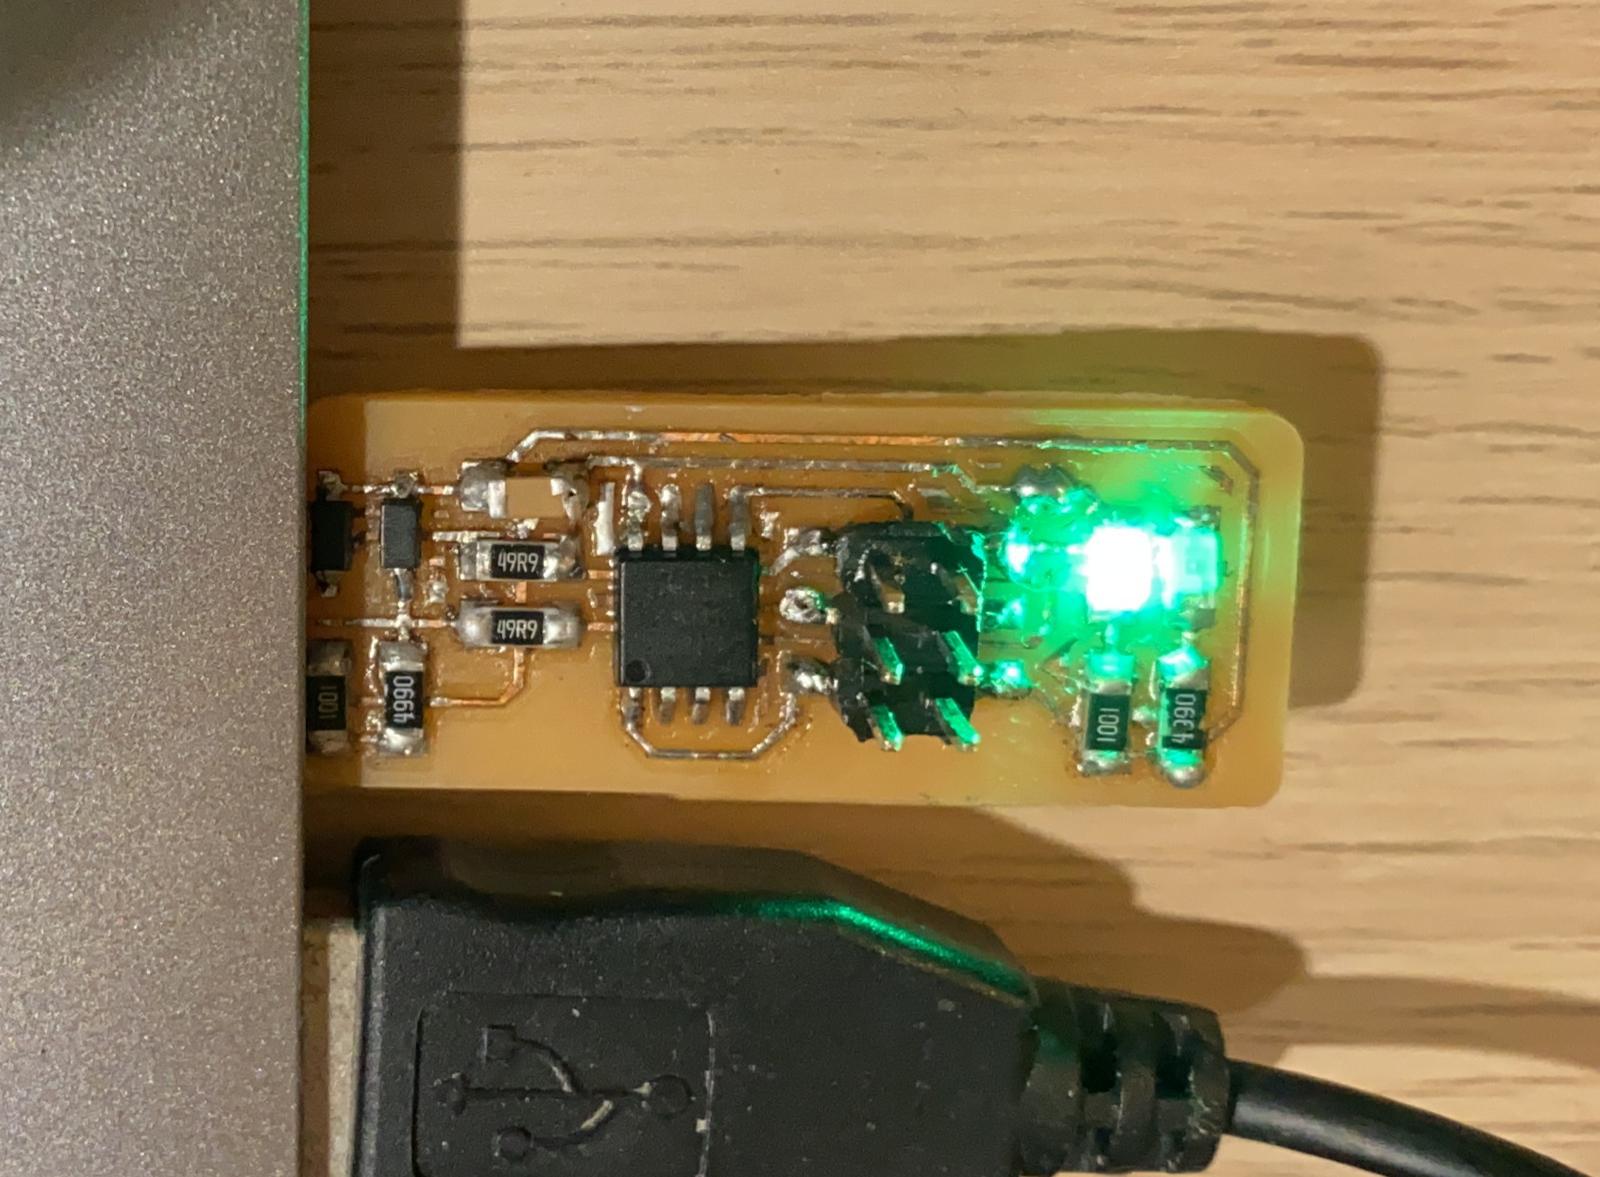
Next you check if your board can be detected by the PC, to do that you plug in your ISP and use device manager to check.
Once everything is in place, the last step is to key in 'make rstdisbl' This is the make reset disable command, making the programmer a fixed programmer and unchangeable.
The code is in the pictures below.
My Thoughts
Overall it was quite ok to do, I think I was more lost in where I kept my files as well as many spelling mistakes when I was trying to type in the command prompt which caused me alot of time and confusion. Thank you Mr Chew (again) who helped me alot for this component
Programming my board
The board that I will be programming here is my own board used for my final program as my hello board is not working.
The board can be programmed on Arduino, which is a familar software from last sem. However, since it is not an arduino board, we have to include the library for ATTiny. To do so, we can go to this website Spence Konde Github
On this page, we can get the link that we need to add to our arduino.
To add that link to our preferences, we open our preferences, open up additional board manager URLs and paste that link in there.
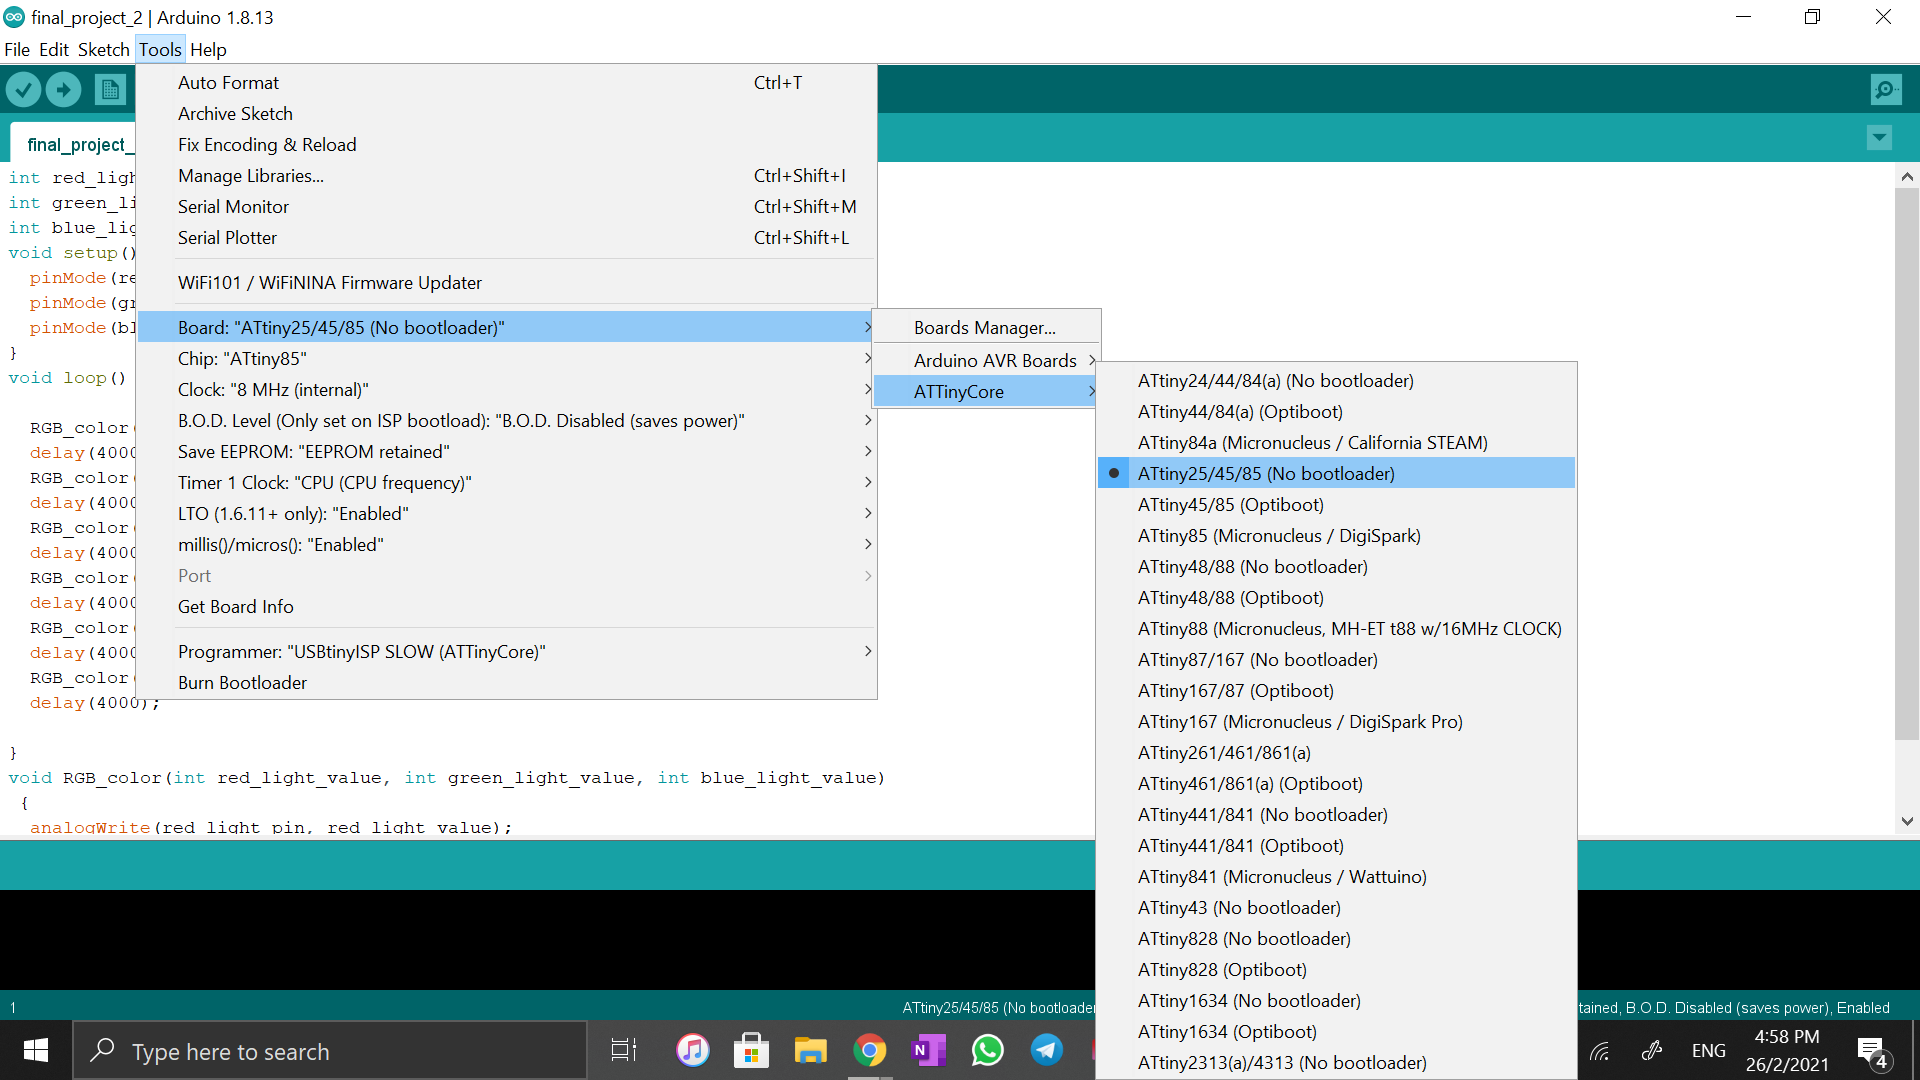
Once that is done we have to install that into our library. To do that we open up tools, board manager, open library, type in ATTiny into the search bar and find for the file from Spence Konde and install that.
We also need to ensure that all the parameters are set to the correct board that we intend on programming, for this board it is an ATTiny85
Next we have to ensure that the pins of our code are according to the pins of the specific chip that we are using. This again can be referenced from Spence Konde git page.
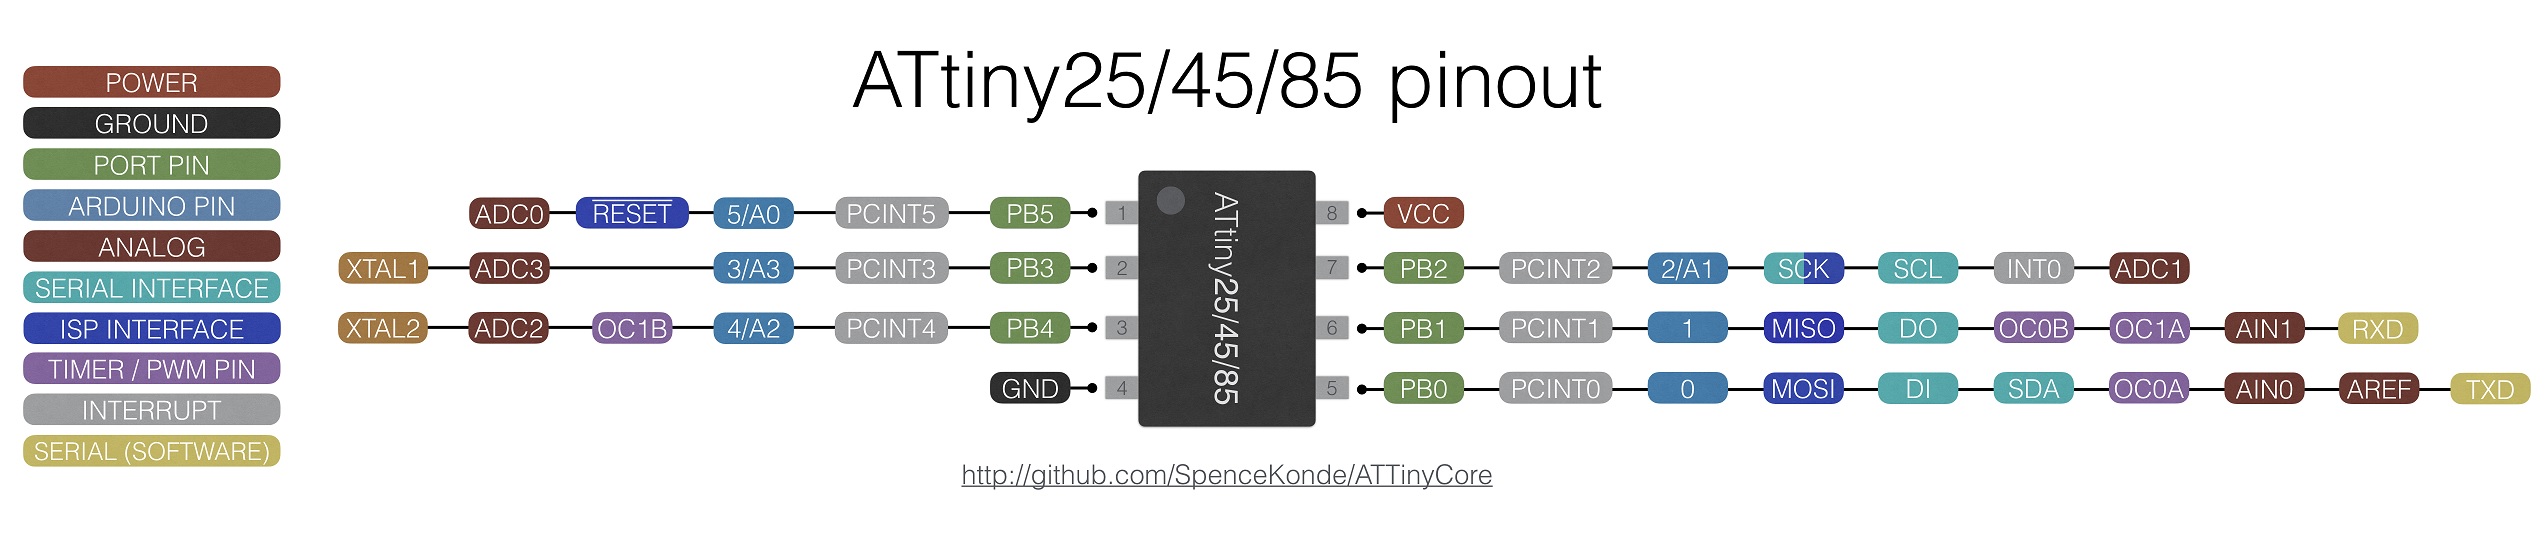
The pins coresponds to the code you are intending to do. My code can be found on the Final Project Page
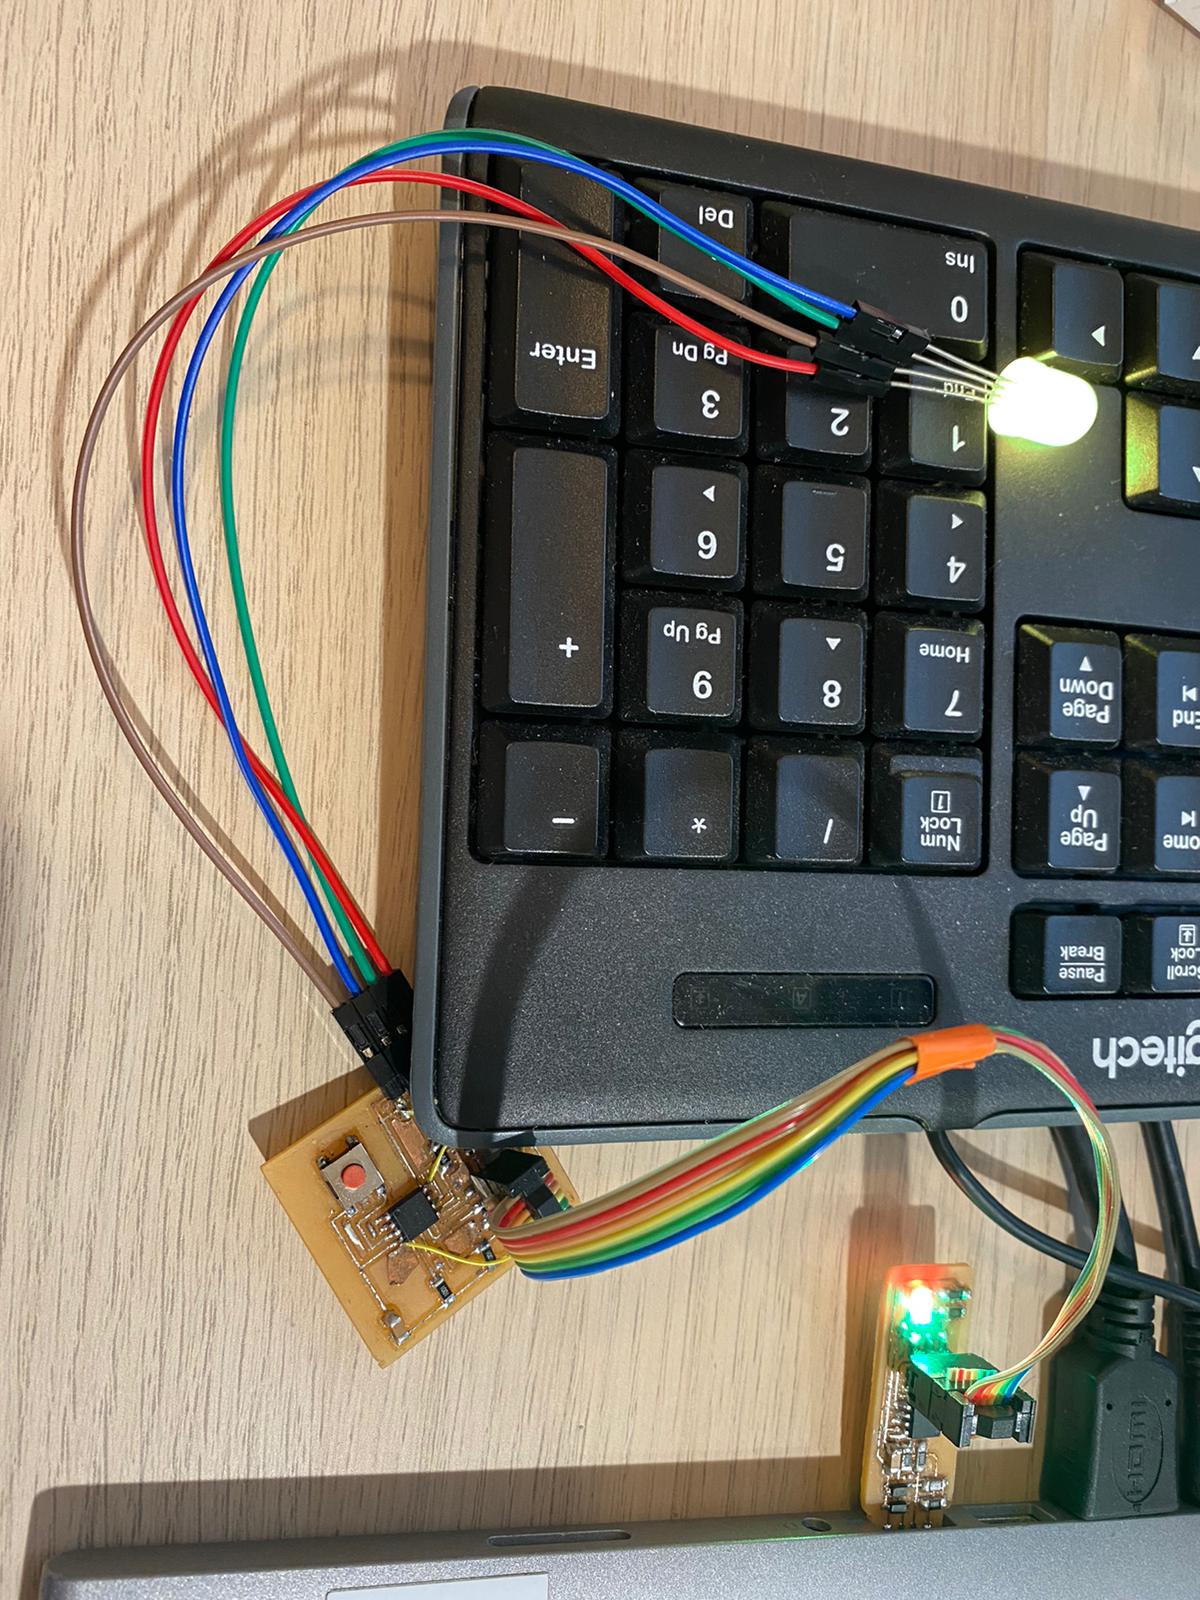
To upload the program onto the board, you have to connect the ISP onto your computer and connect the ISP to the board. Only then can you push the program to your board.
Since it is not an Arduino board, make sure to upload the program using the programmer under sketch.